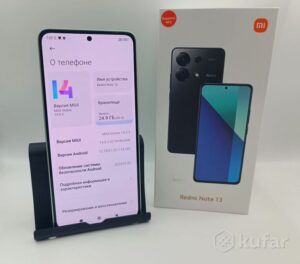
Connecting your Redmi Note 13R to a smart TV can open up a world of entertainment possibilities, allowing you to enjoy your favorite content on a larger screen. In this guide, we will provide you with step-by-step instructions on how to connect your Redmi Note 13R to a smart TV wirelessly.

Step 1: Check TV Compatibility
Before proceeding, ensure that your smart TV supports wireless connectivity options such as Miracast, Chromecast, or screen mirroring. Consult your TV’s user manual or manufacturer’s website to confirm compatibility.
Step 2: Enable Wireless Display on Redmi Note 13R
To connect your Redmi Note 13R to a smart TV wirelessly, follow these steps:
- Open the Settings app on your Redmi Note 13R.
- Scroll down and tap on “Connected devices” or a similar option.
- Look for “Wireless display” or “Cast” and tap on it.
- Enable the wireless display option.
Step 3: Connect Redmi Note 13R to Smart TV
Once you have enabled the wireless display option on your Redmi Note 13R, follow these steps to connect it to your smart TV:
- Turn on your smart TV and ensure it is connected to the same Wi-Fi network as your Redmi Note 13R.
- On your smart TV, navigate to the screen mirroring or casting option. This may vary depending on your TV’s brand and model.
- On your Redmi Note 13R, swipe down from the top of the screen to access the notification panel.
- Look for the “Wireless display” or “Cast” option and tap on it.
- A list of available devices should appear. Select your smart TV from the list.
- Your Redmi Note 13R will establish a wireless connection with your smart TV.
Step 4: Adjust Settings and Enjoy
Once the connection is established, you can adjust the settings on your Redmi Note 13R to optimize the display on your smart TV. You may find options to adjust the resolution, aspect ratio, or screen orientation.
Now, you can enjoy streaming videos, playing games, or sharing content from your Redmi Note 13R on the larger screen of your smart TV wirelessly.


